Sewing: DIY Swimsuit
Summer is sticking around for at least another 6 weeks – this tutorial is perfect if you have a couple of hours and a beach near by. Time to sew up this DIY swimsuit.
What You Need
- 1/2 a yard of swimsuit fabric and liner
- matching thread
- machine
- scissors
Step One
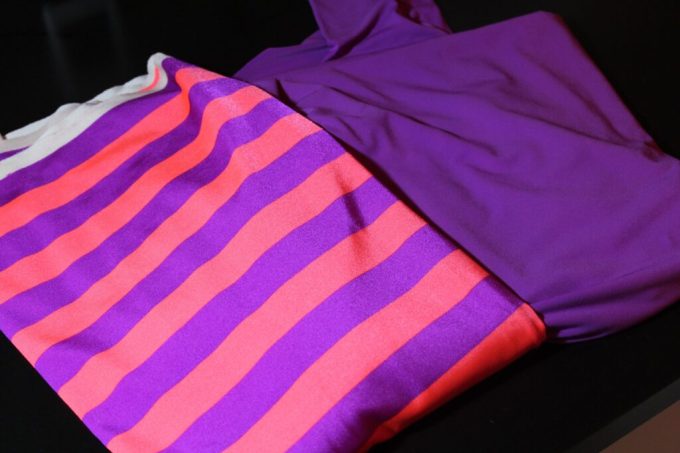
First – gather your fabric – nice colours, eh?
Step Two
Next – I used a pair of undies that I cut up to make the pattern for the bottoms. They fit well and have adequate coverage. Be sure to include the seam allowance.
Notice my side stripes don’t match up? I’m not too worried, since I’m putting a piece of trim there later. For the top, though, try and match it up. Next, cut the lining.
Step Three
Now, pin the bottoms together (and the lining). Then, pin the bottoms to the lining and serge all around. Stitch sides together.
Step Four
Time to finish up the bottoms – turn in each side by 1/4-1/2 an inch. Zig-zag stitch all around.
On my first attempt I used a darker thread. I thought it would pop and look nice. Ah, not so much. Looks brutal. Time to get out the seam ripper and start again.
This time, I used clear thread. Not only will it hide the little errors I make, but it’ll also make the swimsuit bottoms look cleaner and more polished.
Step Five
Time for the top!
Measure your bust – minus 3 inches. I measured 35 and I subtracted 3, thus 32. However, it wasn’t quite tight enough, so I ended up having to take off another 1 1/2 inches. Check to see how stretchy your fabric is! Then, make it as wide as you like. For mine, it was 6 inches – so I cut it 12 inches wide since it’s going to be doubled up.
I’m making 2 tops – one a twisted bandeau and the other just a plain one with a bit of detail and an added strap.
For the twisted bandeau, you’ll need 2 pieces that are the measurements above. Now the plain one, you’ll need just one (unless your fabric is super sheer, then you’ll need a lining).
For the bandeau – turn right sides together and sew along the long seam. Then cross them and get ready to stitch up.
Step Six
Now, pin together being sure not to twist the back – pin in place and stitch.
That one is done!
Step Seven
For the plain one – again, sew along the long seam when right sides are together. Then sew up the end as if you’re making an infinity scarf.
Step Eight
Add some detail and a strap. For the strap – cut a long piece that’s about 4 feet by 2 inches. Then sew right sides together along the long seam, turn right side out and knot the ends. Done.
Ta-Da! Two swim suits ready to beat the heat.
Enjoy the rest of your summer!
Thanks for visiting – time to sew up!


